
Actually, we use hydrocal which is much harder than molding plaster ( also more expensive). We sprinkle it into rubber bowls of water until no more plaster will dissolve. It will float on the top when it has reached the point of saturation. We gently use our hands to make sure that there are no lumps of undissolved plaster. We don't actually stir it, which would introduce air into the mix.

We soak hemp fibers in a bucket of water. We use these fibers for reinforcing the plaster mother molds. You can also use burlap or fiberglas mesh for reinforcing plaster.

Next, we apply a first coat of plaster over the rubber. If you can lay the molds flat, it's much easier to make the plaster molds.

Then, we take the wet hemp, soak it in freshly mixed plaster and spread it over the first plaster coat. We aren't waiting for the first coat to dry, we move right along with getting each piece done as fast as possible.

We then build up the mold to about 1 inch thick, more or less.

I use my hands to build up a strong edge for the mold. At a certain point, plaster will work beautifully and you can shape it nicely. That brief time between too runny and too thick is short-lived, and you have to move fast.

It took quite some time for Meg and I to finish both sides of 23 leaf cluster molds (days).

Then, it was time to put the mother mold on the Tree trunk. Since it was vertical, we applied the first coat with brushes.

We did the bottom sections first, to give support to the weight of the top portion.

I still want to add reinforcing metal rods and another layer of plaster to the top portions of the Tree. Otherwise, we're almost through with the mother mold portion of this commission.
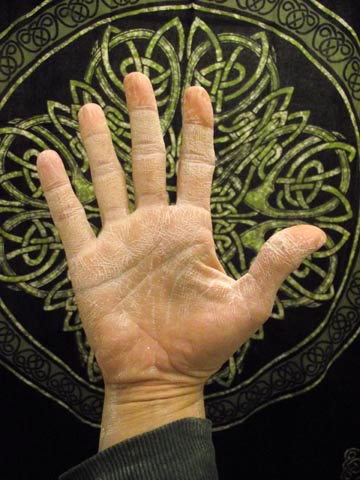
The White Hand of Saru(wo)man! (all photos copyright Meg White.)


1 comment:
Nice post.Thanks for sharing......
Post a Comment