Before you open the rubber, spray the Pol Ease 2300 onto the clay. It will have a wet look when there is enough.

I carefully pour part A and Part B into their respective cups, up to the lines (as shown in the previous post). Part A is like a thick honey. Part B is like maple syrup.

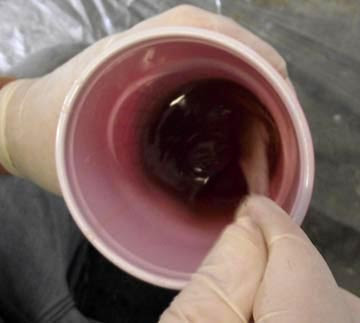
I pour each part into a mixing cup. I scrape it out of the clear wine cup with a knife used only for that purpose. I use a 3rd knife for mixing. The knives near cup A or cup B will last all day, if you keep them away from each other. This is the color of the stuff when it is first mixed.

You stir, mixing it well, until it begins to change into this lighter color. It is now 'going off', and you can feel a little bit of heat from the chemical reaction. You've got to brush it on Now! MOVE!

You apply 1 coat and let it harden to where it is tacky (about 45 minutes). Then, add a second coat. Wait about 45 minutes until tacky.

It's now time to add the part-line shims. Making and applying the part-line shims is the hardest part of the job. We use clear plastic sheets and plastic bubble sheets from sculpture depot. We use a plastic freezer tape to stick the plastic together. It has been smeared both sides with Trewax (it's for floors, and is made of Carnuba). We fasten the shims to the sculpture with pins that have plastic heads on them.

Then, we mix another batch of rubber. When it changes color, we mix in polyfiber until it has the consistency of icing.

We scrape it into a baggy and cut a small hole in the corner.

We squeeze a bead of it around the base of the shims.

We smooth the bead out with a plastic knife. As soon as this mix starts hardening (30 45 minutes) pull out all the pins.

We then apply 5 more coats over everything, waiting 45 minutes between each coat. If there are any undercuts, we mix a batch with Polyfiber and fill them in, using a plastic knife. Next, the plaster mother molds (the fun never stops...)


No comments:
Post a Comment